Materials used:
100% acrylic worsted weight yarn
partial ball of Bernat Satin Grey Mist Heather (grey)
partial ball of Bernat Satin Stone (off white)
partial ball of Bernat Satin Sapphire (blue)
Small amount of black yarn (for eyes)
Small amount of light pink yarn (for mouth)
Hook size = 3.25 mm
yarn needles to join pieces
Polyester Fiberfill for stuffing
Stitches used:
ch - chain stitch
ss - slip stitch
st - stitch(es)
sc - single crochet
sc2tog - single crochet 2 together
inc - 2 sc in same stitch
blo - back loop only
hdc - half double crochet
hdc inc - 2 half double crochet in same stitch
dc - double crochet
Magic Circle - see how here (start each piece with magic circle)
Time to Complete - 15 hours (approximately)
Finished size - 11 inches tall
Legs (x2)
Use grey yarn. Working from the bottom up, starting with a magic circle, use stitch marker to mark end of rows (work in continuous rounds with no joining)
R1 - 6 sc (6)
R2 - inc x6 (12)
R3 - (sc inc) x6 (18)
R4 - (2 sc inc) x6 (24)
R5-R6 - sc around (24)
R7 - sc2tog x4 + 16 sc (20)
R8 - sc2tog x4 + 12 sc (16)
R9-R13 - sc around (16)
R14 - (3 sc inc) x4 (20)
R15-R16 - sc around (20)
R17 - (4 sc inc) x4 (24)
R18 - sc around (24) Finish off and stuff leg.
Body
Join legs on middle 2 stitches as shown in this tutorial. The instructions are in German but the video alone is enough to understand the technique. Once the legs are joined continue crocheting around both legs to form the body.
R19 - (23 sc inc) x2 (50)
R20 - sc around (50)
R21 - (4 sc inc) x10 (60)
R22 - sc around (60)
R23 - (9 sc inc) x6 (66)
R24 - sc around (66)
R25 - sc around (66)
R26 - sc around (66)
R27 - sc around (66)
R28 - sc around (66) [switch to blue at end of row)
R29 - (9 sc sc2tog) x6 (60)
R30 - sc around in blo (60) [front loop open for frilly edge)
R31 - sc around (60)
R32 - sc around (60)
R33 - (8 sc sc2tog) x6 (54)
R34 - 14 sc (sc2tog)x2 + 20 sc (sc2tog)x2 + 12 sc (50)
R35 - sc around (50)
R36 - 14 sc (sc2tog)x2 + 16 sc (sc2tog)x2 + 12 sc (46)
R37 - sc around (46)
R38 - 14 sc (sc2tog)x2 + 12 sc (sc2tog)x2 + 12 sc (42)
R39 - sc around (42)
R40 - 12 sc (sc2tog)x2 + 12 sc (sc2tog)x2 + 10 sc (38)
R41 - sc around (38)
R42 - 11 sc + sc2tog + 15 sc + sc2tog + 8 sc (36)
R43 - sc around (36)
R44 - (4 sc + sc2tog) x6 (30)
R45 - sc around (30)
R46 - sc around (30)
R47 - (3 sc + sc2tog) x6 (24)
R48 - sc around (24) [switch to grey at end of row]
R49 - (2 sc + sc2tog) x6 (18)
R50 - sc around (18)
Finish off and cut yarn leaving a long tail to attach the head. Stuff body firmly.
Pick up loop from R30 at back of body joining blue yarn. Work with body upside down.
*Ch2, dc in next st, ss in next st**
Repeat * to ** around.
Finish off and weave in ends.
Arms (x2)
Start with stone.
R1 - 6 sc (6)
R2 - inc x6 (12)
R3 - (sc inc) x6 (18)
R4 - sc around (18)
R5 - (4 sc dec) x3 (15)
R6 - sc around (15)
R7 - (3 sc dec) x 3 (12)
Change to grey mist heather at end of R7
R8 - sc around (12)
R9 - (4 sc dec) x 2 (10)
R10-R29 - sc around (10)
Change to sapphire at end of R29
R30-R34 - sc around (10)
Finish off and cut yarn leaving a long tail for joining. Stuff only hands and part way up arm.
Head
Use off white yarn.
R1 - 6 sc (6)
R2 - inc x6 (12)
R3 - (sc inc) x6 (18)
R4 - (2 sc inc) x6 (24)
R5 - (3 sc inc) x6 (30)
R6 - (4 sc inc) x6 (36)
R7 - (5 sc inc) x6 (42)
R8 - (6 sc inc) x6 (48)
R9 - (7 sc inc) x6 (54)
R10 - (8 sc inc) x6 (60)
R11 - sc around (60)
R12 - sc around (60)
R13 - sc around (60)
R14 - sc around (60)
R15 - sc around (60)
R16 - sc around (60)
R17 - sc around (60)
R18 - sc around (60)
R19 - sc around (60)
R20 - (8 sc dec) x6 (54)
R21 - sc around (54)
R22 - (7 sc dec) x6 (48)
R23 - (6 sc dec) x6 (42)
R24 - (5 sc dec) x6 (36)
R25 - (4 sc dec) x6 (30)
R26 - (3 sc dec) x6 (24)
R27 - (2 sc dec) x6 (18)
R28 - (2 sc dec) x3 + 6 sc (15)
R29 - sc around (15)
R30 - sc around (15)
Finish off and cut yarn leaving a long tail for joining. Stuff head and neck firmly to hold shape.
Hood
Use grey yarn. Check to make sure hood fits head and adjust tension based on fit. You may have to move up a hook size if the hood is too tight.
R1 - 6 sc (6)
R2 - inc x6 (12)
R3 - (sc inc) x6 (18)
R4 - (2 sc inc) x6 (24)
R5 - (3 sc inc) x6 (30)
R6 - (4 sc inc) x6 (36)
R7 - (5 sc inc) x6 (42)
R8 - (6 sc inc) x6 (48)
R9 - (7 sc inc) x6 (54)
R10 - (8 sc inc) x6 (60)
R11 - sc around (60)
R12 - sc around (60)
R13 - sc around (60)
R14 - sc around (60)
R15 - (8 sc sc2tog) x6 (54)
R16 - sc around (54)
R17 - sc around (54)
R18 - sc around (54)
R19 - sc around (54)
R20 - sc around (54)
R21 - Ch10, skip 10 sc, sc around (54)
Starting Trunk
R22 - 10 sc blo, sc (to anchor), 10 sc in ch stitches from behind (20)
R23-R28 - sc blo around (20)
R29 - (sc2tog + 8 sc) blo x2 (18)
R30 - sc blo around (18)
R31 - (sc2tog + 7 sc) blo x2 (16)
R32 - sc blo around (16)
R33 - (sc2tog + 6 sc) blo x2 (14)
R34 - sc blo around (14)
R35 - (sc2tog + 6 sc) blo x2 (12)
R36 - sc blo around (12)
R37 - sc blo around (12)
R38 - sc blo around (12)
R39 - sc blo around (12)
R40 - (sc2tog + 6 sc) blo x2 (10)
R41 - sc blo around (10)
R42 - sc blo around (10)
R43 - sc blo around (10)
R44 - (sc2tog + 6 sc) blo x2 (8)
R45 - sc blo around (8)
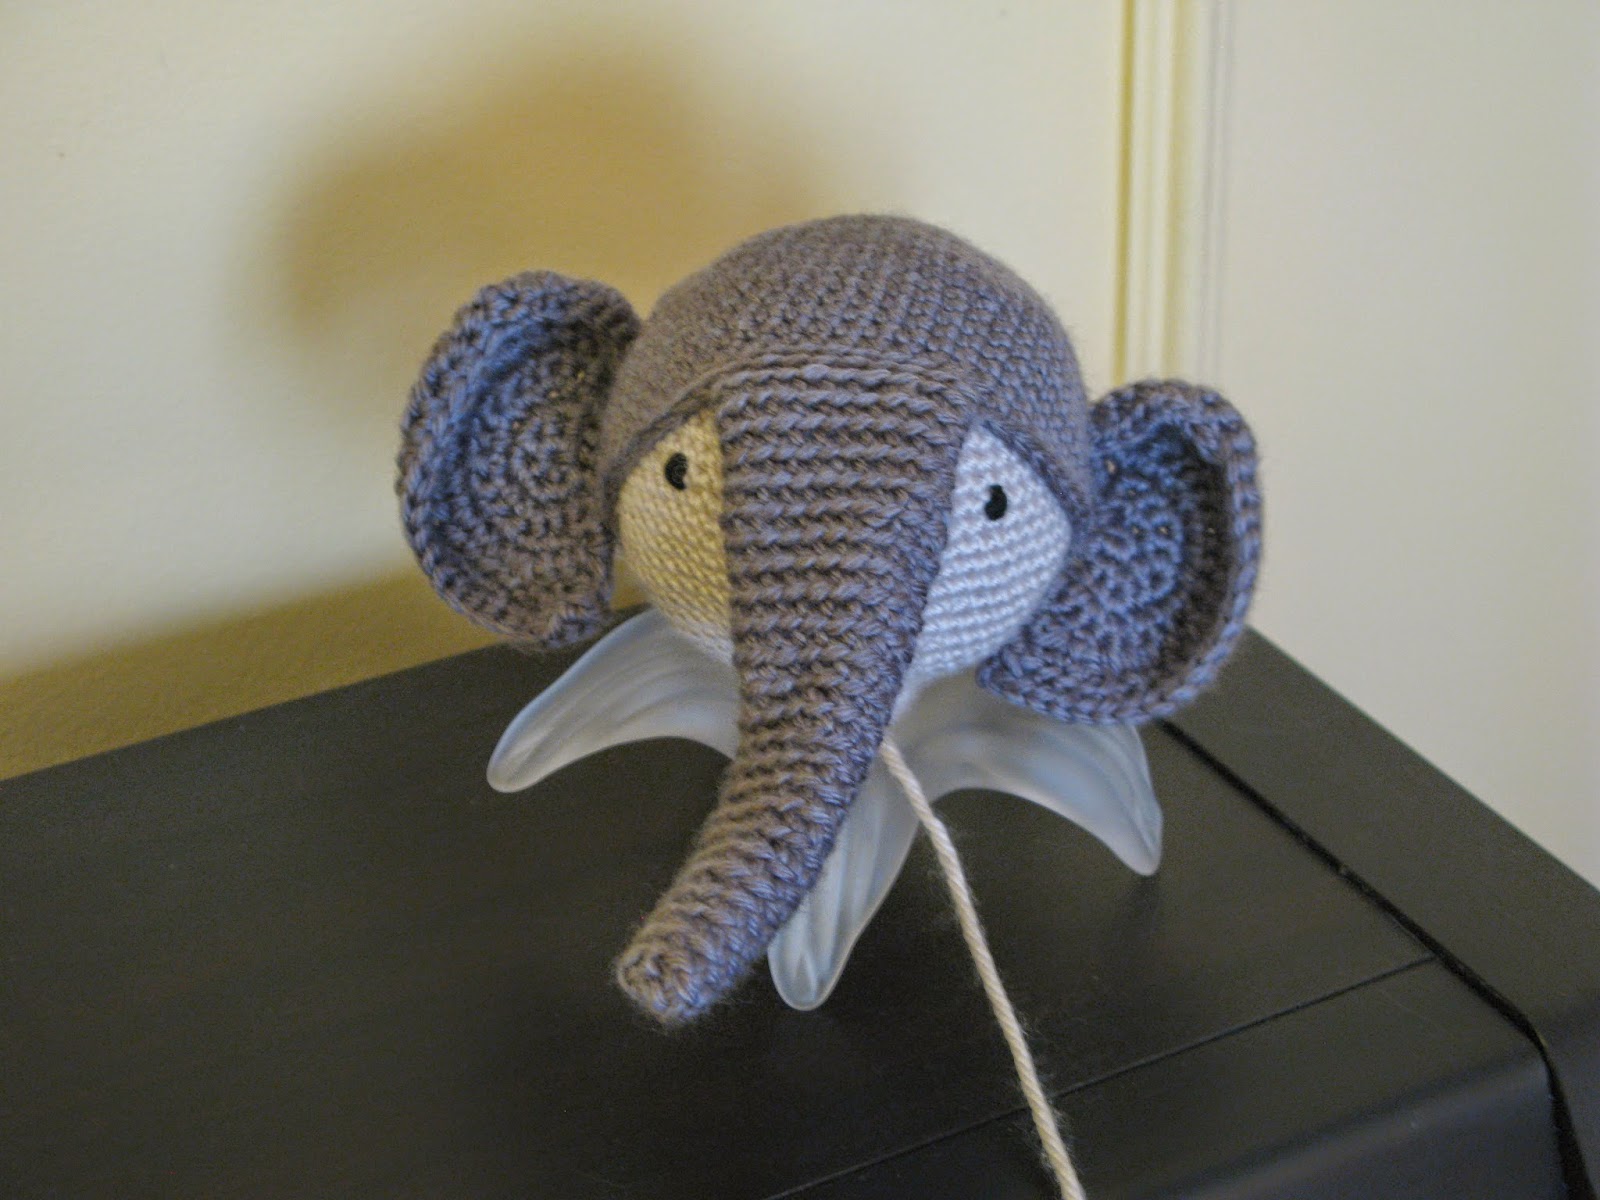
Finish off and and weave in ends. Do not stuff. Place on head as shown in photos above. After attaching head to body, I like to wrap the tail from the hood around the neck to cover joining stitches.
Ears (x2)
Use grey yarn.
For rows 1-7, I followed instructions including step-by-step photos found here by blogger Dedri at Look At What I Made.
R1 - With grey yarn: ch 2, 5 sc into the 2nd ch from the hook, ch 1 and turn (5)
R2 - inc in each st, ch 1 and turn (10)
R3 - (inc, sc) x 5. ch 1 and turn (15)
R4 - (inc, 2 sc) x 5, turn (20)
R5 - Short Row: Skip 2 st, sc inc in the next st, sc in the next and ss in the next, ch 1 and turn. (3 – not including the ss)
R6 - Short Row: Skip the ss, ss in the next st, hdc inc in the next st and dc in the last st, ch 1 and turn. (4 – including the ss)
R7 - 4 sc, at the “step” hdc in the st at the base of the step (which already contains a ss), (3 hdc, hdc inc) x3, sc in the third last stitch and ss in the last 2 st’s, ch 1 and turn. (21 – not including the ss)
R8 - sc, 2 hdc, 3 dc, 3 hdc. 7 sc, 6 ss, sc in next st, ch 1 and turn
R9 - sc around, 2 sc at end of row (26 st) then continue to centre (6 st), ch 1 and turn
R10 - sc to point, 2 sc in next st, 6 sc
Finish off leaving 8" tail for joining.
Fold ear to form a natural curl at the top and attach to head (see photo above).
I like these ears, but might make even bigger ones for my next elephant. I will be sure to provide instructions if I do.
Tail
Use grey yarn.
R1 - sc 12
R2 - ss in back bumps of ch (11)
Finish off. Cut yarn ends ~1/2" long and separate strands to form a small tuft. Join to body using another length of grey yarn (see photo above).
Ellie is my first baby elephant. You can read about her humble beginnings here and her introductions to the world here. If you decide to make one too, I'd love to see photos when you're done.
Be the first to comment - click on No comments: below