Monday, 9 March 2015

Evie Bunny Done

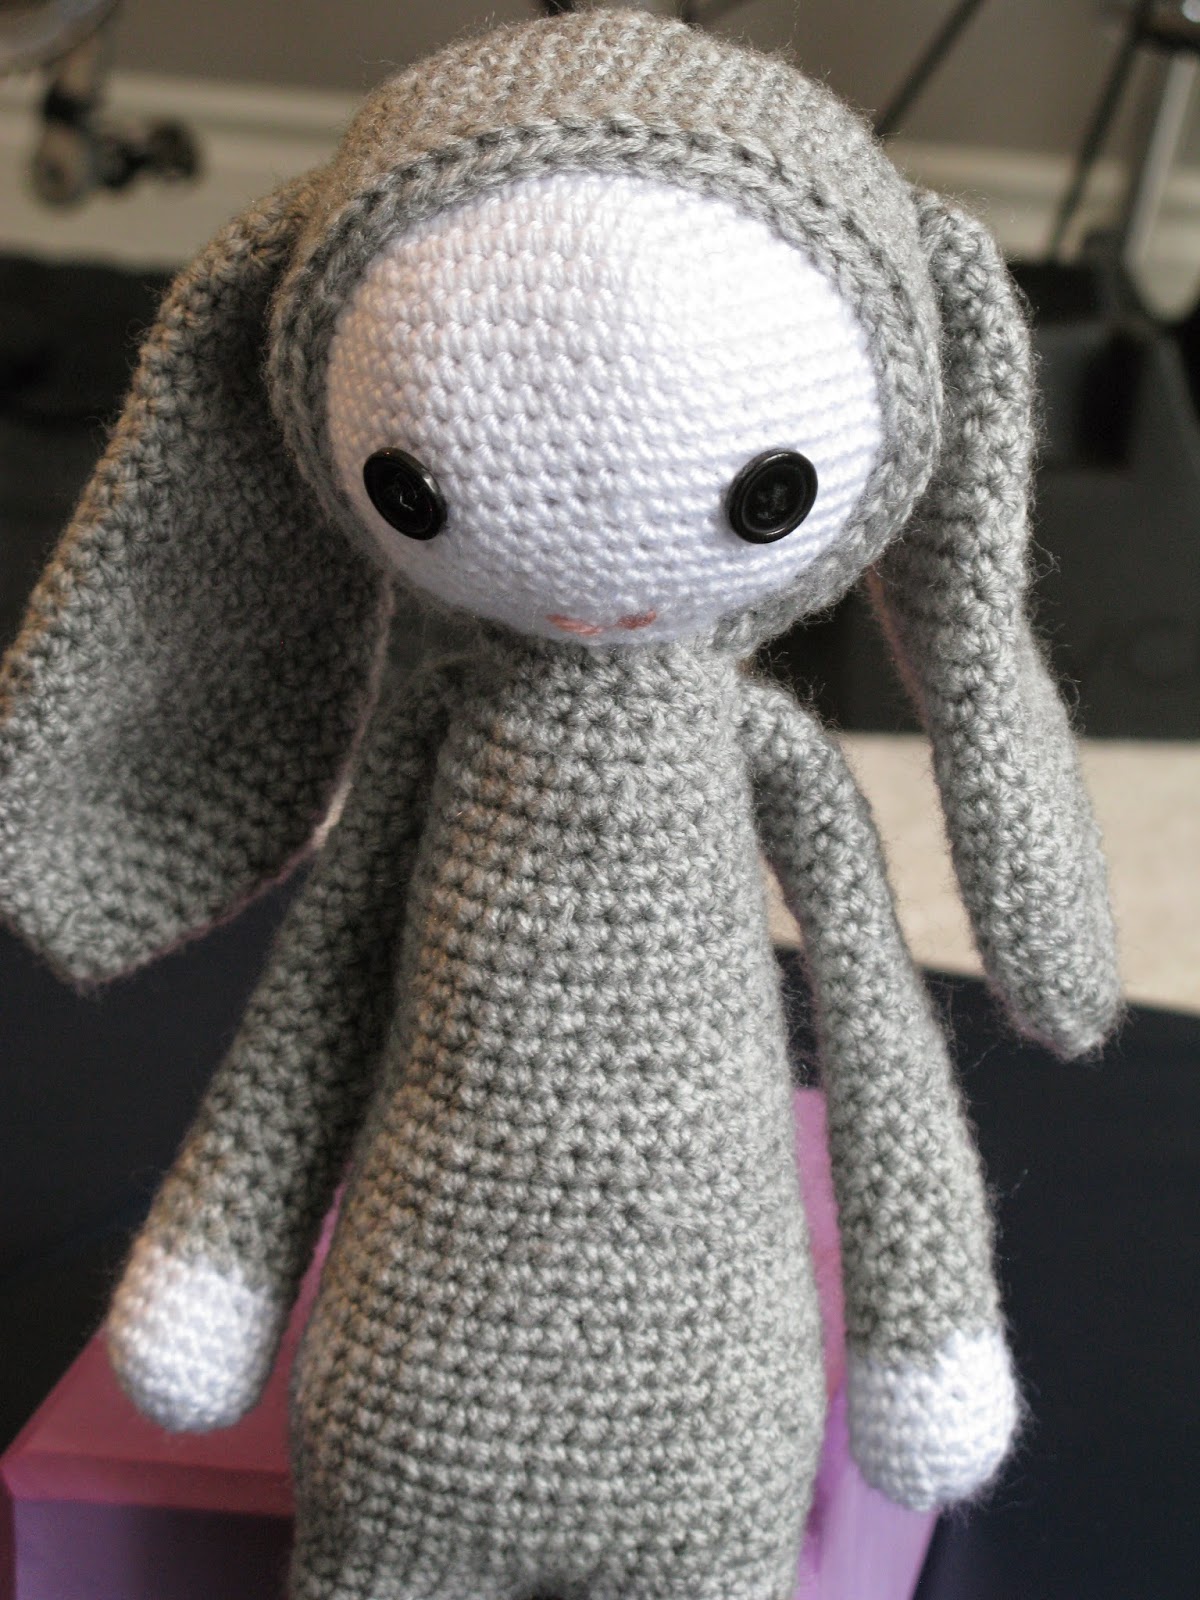
Tonight I finished Evie Bunny following my Blue Bunny pattern from this post. I wanted to test the pattern one more time. Happily, it is easy to follow and error free. I am so pleased to have finished with plenty of time to pack for our trip to Boulder. We leave on Saturday and I'm getting excited... just 5 more sleeps.

Allow me to introduce Evie Bunny. Doesn't she look adorable with her ear tattoo in pink ink?

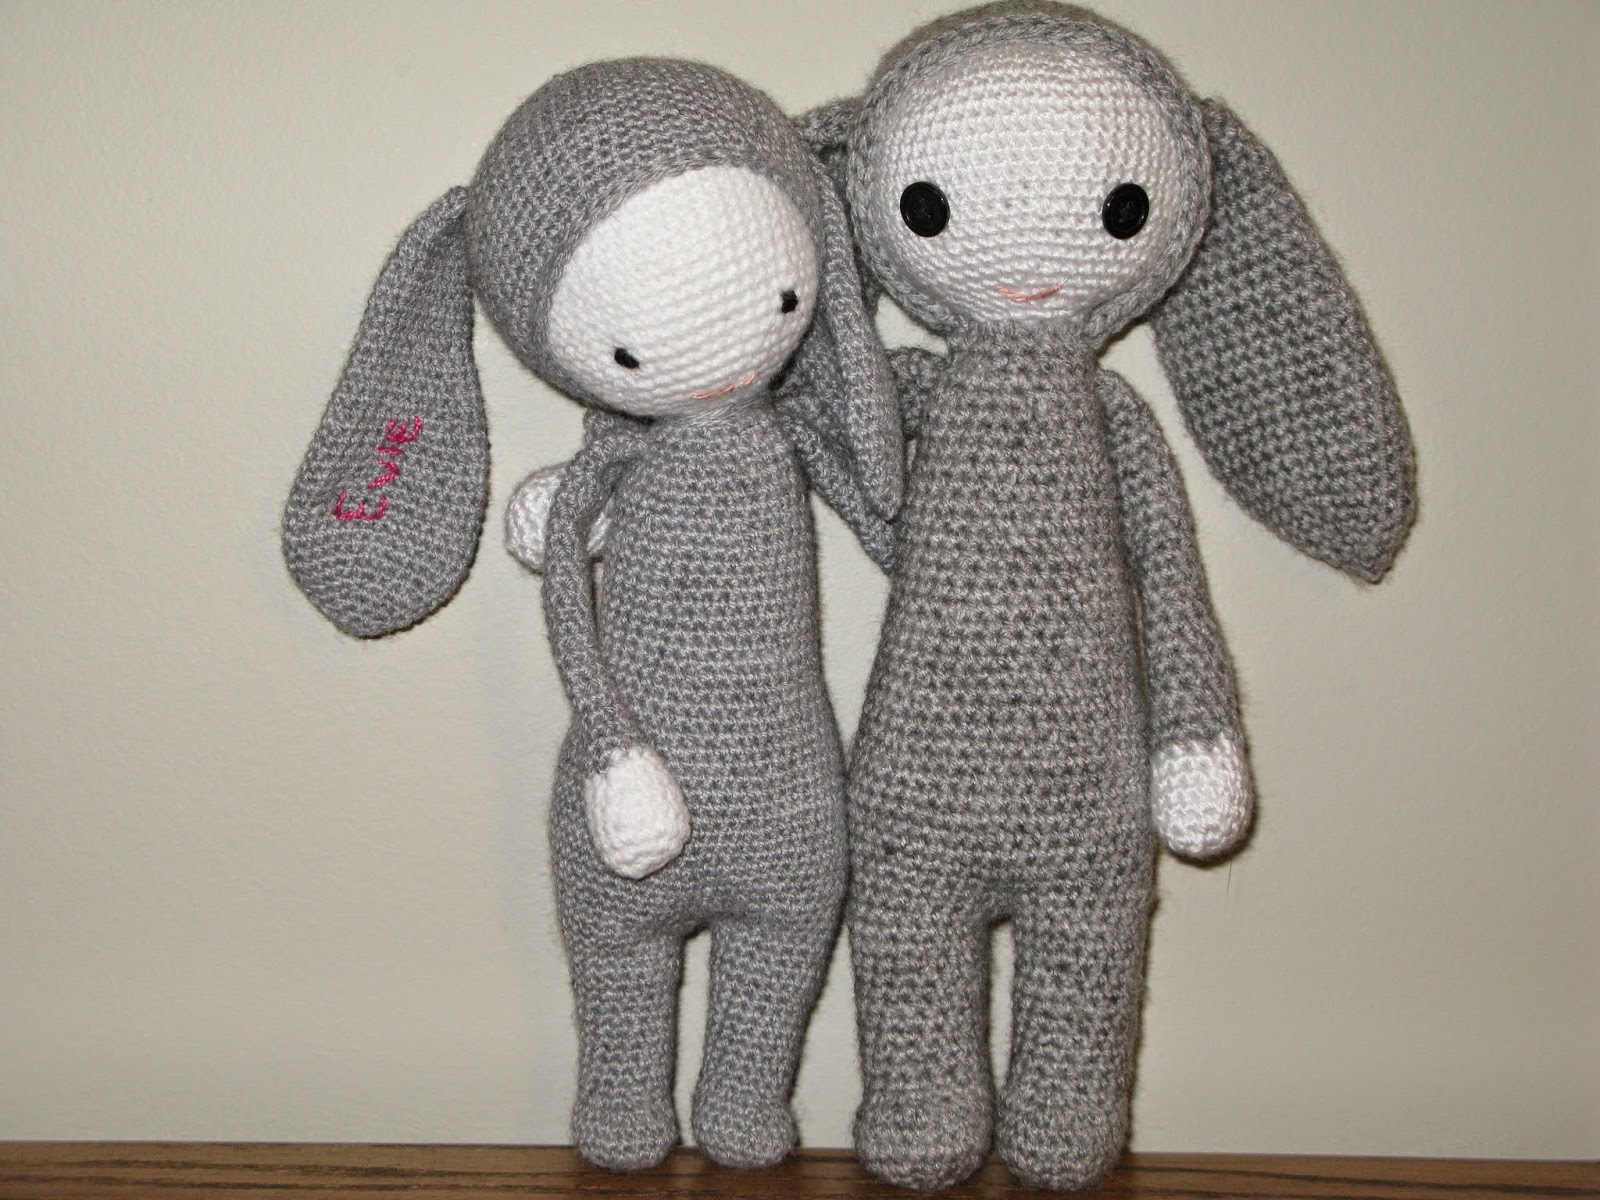
Evie Bunny is a bit shy when she first meets Bobo Bunny.  
Bobo introduces himself and In a very short time they are best of friends. Evie and Bobo Bunny are smiling and excited about flying to Boulder together on Saturday. They can hardly wait to see their new home.
Bye Bye Bunnies. Enjoy your new life in Boulder.

For the crocheters out there, I've included a few technical details. Evie Bunny was crocheted using Bernat Softee Baby yarn in flannel (light grey) and Snuggly Wuggly Loops and Threads yarn in white. The eyes and mouth are embroidered in black and pale peach yarn. I embroidered the name using hot pink embroidery thread. Evie Bunny was made following this pattern and Bobo Bunny was made with this pattern. 

You won't be disappointed if you decide to make either of these bunnies.


Be the first to comment - click on No comments: below

Sunday, 8 March 2015

Greg Curnoe Poster Love

I am so pleased with the latest additions to our wall art. 

We have always loved Greg Curnoe's colourful paintings. I especially love that we knew Greg and rode together with the LCW all those years ago. Recently, I was excited to hear Sheila Curnoe might have some of his bicycle posters available for sale. Even though our walls are fairly full, I contacted her right away and went over to take a look.

The poster turned out to be his Mariposa 10-speed on a beautiful blue washed background. It was exactly the sort of poster I was hoping to find so I bought it and figured I would find a place to hang it later. 

The bike is a perfect poster to adorn our wall in the stairwell leading to the basement. We had cleaned and painted this area in the fall but had not gotten around to decorating the walls.
Since we were cyclists and friends, Sheila also threw in a copy of The Camouflage Piano poster. She pointed out a a flaw in the background words which prevented her from selling it. I love it as well and the colours are perfect for the sitting area outside our guest room in the basement. 
We had the posters framed at Staples using Plak-It with a simple white edging and no matting. I like Plak-It because it is reasonably priced, sturdy and a simple solution for posters.

So what do you think of our new additions?  I just love our new Greg Curnoe posters. They are colourful and fun and just what we needed to brighten our basement.


Be the first to comment - click on No comments: below


Wednesday, 4 March 2015

Introducing Blue Bunny

I finally finished Blue Bunny last night but waited to take photos in the daylight after work. Unfortunately it is cloudy today, so the lighting is not the best. At least you can see how cute he looks. I think little Levi will be very happy with this gift from his Auntie. 

My free pattern for Blue Bunny can be found at the bottom of my last post and my free pattern for Bobo Bunny can be found here. I have already started making another Bunny in flannel (light grey) using the Blue Bunny pattern. I hope to finish in time to take it to Boulder with me. My Mom and I leave in just 10 days from now. 

I am very excited about seeing our grandchildren, so yes, I am counting the days. Hopefully this project will help keep my mind off the waiting. 

Allow me to properly introduce Blue Bunny for Levi. I've included photos showing his front, two side views and back. I also posed Blue Bunny and Bobo together so you can see their differences more clearly. I like both of them but Blue Bunny is probably my favourite so far. What do you think?
Bye-bye Blue Bunny. Take care and have fun with your new pal Levi.


Be the first to comment - click on No comments: below

Monday, 2 March 2015

Bunny Pattern Perfected

Last week I started another Bunny using Loops and Threads Snuggly Wuggly yarn in cobalt blue and white. I chose this yarn mostly because of the colour and partly because of the name Snuggly Wuggly. It is 100% acrylic DK (#3) weight yarn available in a variety of colours. I like that it is easy care, long wearing and soft; perfect for baby projects. I also like that it comes in relatively large 5 oz (446 yard) size balls so there is no fear of running out with this project.  


I decided to use my Bobo Bunny Pattern as a prototype. I love how Bobo looks but felt he could be improved and perfected with a few tweaks. Using DK (#3) weight yarn and a smaller hook produces a tighter, neater stitch. Since I wanted this bunny to be similar in size to Bobo, I had to make significant changes to the pattern.

A friend at work asked me to make a bunny for her nephew's baby shower gift. She also asked me to add his name if possible. I had been trying to decide where to put a name when I came up with the idea of an ear 'tattoo'. I will embroider his name inside his ear. It will be subtle yet easy to see which is perfect.

I couldn't wait to show you Blue Bunny so I took advantage of the late afternoon sunshine to take his photo in the final stage before assembly. I still have to embroider his name and face then sew all the pieces together. I love this part of the process. I am more than pleased with the way Blue Bunny is turning out. I think he will be perfect for babies.
I expect to finish tonight but will wait for more sunshine to take proper photos posing Blue Bunny on his own and side-by-side with Bobo so you can see the differences more clearly. 

Since this bunny is SOLD, I think I will make another using DK weight yarn and my pattern as written below. I would like to test it once more to make sure it's a properly Perfected Bunny Pattern. 

I might also make one using worsted weight yarn with a smaller hook (3.5 mm) keeping yarn weights consistent so everything fits. I would like to see how much bigger it would be.

As always, I will continue to share photos as my bunnies grow and propagate. 


BLUE BUNNY PATTERN

PDF Version

Materials used:

1 ball (5 oz) of Loops and Threads Snuggly Wuggly yarn in cobalt blue.
1 ball (5 oz) of Loops and Threads Snuggly Wuggly yarn in white.
Polyester Fiberfill for stuffing
Small amount of black yarn (for eyes)
Small amount of pink yarn (for mouth)

Stitches used:

ch - chain stitch
ss - slip stitch
sc - single crochet
inc - sc increase (2 sc in same stitch)
dec - sc dec (sc2tog - single crochet 2 together)
Magic Circle - see how here (start each piece with magic circle)

Time to Complete - 16 hours (approximately)
Finished size - 12 inches tall

Legs (x2)

Use blue yarn. Working from the bottom up, starting with a magic circle, use stitch marker to mark end of rows (work in continuous rounds with no joining)

R1 - 6 sc (6)
R2 - inc x6 (12)
R3 - (sc inc) x6 (18)
R4 - (2 sc inc) x6 (24)
R5-R6 - sc around (24)
R7 - sc2tog x4 + 16 sc (20)
R8 - sc2tog x4 + 12 sc (16)
R9-R16 - sc around (16)
R17 - (3 sc inc) x4 (20)
R18-R20 - sc around (20)
R21 - (4 sc inc) x4 (24)
R22 - sc around (24) Finish off and stuff leg.

Body

Join legs on middle 2 stitches as shown in this tutorial. The instructions are in German but the video alone is enough to understand the technique. Once the legs are joined continue crocheting around both legs to form the body.

R23 - sc around (46)
R24 - sc around (46)
R25 - (5 sc inc) x 7 + 4 sc (53)
R26 - sc around (53)
R27 - (9 sc inc) x 5 + 3 sc (58)
R28 - (8 sc inc) x 2 + 40 sc (60)
R29 - sc around (60)
R30 - sc around (60)
R31 - sc around (60)
R32 - sc around (60)
R33 - (8 sc dec) x6 (54)
R34 - sc around (54)
R35 - sc around (54)
R36 - sc around (54)
R37 - (7 sc dec) x6 (48) [attach pom-pom tail]
R38 - sc around (48)
R39 - sc around (48)
R40 - sc around (48)
R41 - (6 sc dec) x 6 (42)
R42 - sc around (42)
R43 - sc around (42)
R44 - sc around (42)
R45 - (5 sc dec) x6 (36)
R46 - sc around (36)
R47 - sc around (36)
R48 - sc around (36)
R49 - sc around (36)
R50 - sc around (36)
R51 - sc around (36)
R52 - sc around (36)
R53 - sc around (36)
R54 - sc around (36)
R55 - (4 sc dec) x6 (30)
R56 - sc around (30)
R57 - sc around (30)
R58 - sc around (30)
R59 - (3 sc dec) x6 (24)
R60 - sc around (24)
R61 - (2 sc dec) x6 (18)
R62 - sc around (18)
Finish off and cut yarn leaving a long tail to attach the head. Stuff body firmly.

Arms (x2)

Start with white yarn
R1 - 6 sc (6)
R2 - inc x6 (12)
R3 - (sc inc) x6 (18)
R4 - sc around (18)
R5 - (4 sc dec) x3 (15)
R6 - sc around (15)
R7 - (3 sc dec) x 3 (12)
Change to blue yarn at end of R7
R8 - sc around (12)
R9 - (4 sc dec) x 2 (10)
R10-R30 - sc around (10)
Finish off and cut yarn leaving a long tail for joining. Stuff only hands and part way up arm.

Head

Use white yarn.
R1 - 6 sc (6)
R2 - inc x6 (12)
R3 - (sc inc) x6 (18)
R4 - (2 sc inc) x6 (24)
R5 - (3 sc inc) x6 (30)
R6 - (4 sc inc) x6 (36)
R7 - (5 sc inc) x6 (42)
R8 - (6 sc inc) x6 (48)
R9 - (7 sc inc) x6 (54)
R10 - (8 sc inc) x6 (60)
R11 - sc around (60)
R12 - sc around (60)
R13 - sc around (60)
R14 - sc around (60)
R15 - sc around (60)
R16 - sc around (60)
R17 - sc around (60)
R18 - sc around (60)
R19 - sc around (60)
R20 - sc around (60)
R21 - (8 sc dec) x6 (54)
R22 - sc around (54)
R23 - (7 sc dec) x6 (48)
R24 - (6 sc dec) x6 (42)
R25 - (5 sc dec) x6 (36)
R26 - (4 sc dec) x6 (30)
R27 - (3 sc dec) x6 (24)
R28 - (2 sc dec) x6 (18)
R29 - (2 sc dec) x3 + 6 sc (15)
R30 - sc around (15)
R31 - sc around (15)
Finish off and cut yarn leaving a long tail for joining. Stuff head and neck firmly to hold shape.

Hood

Use blue yarn and follow pattern for Head up to Row 24. Use hook size 3.5 mm to make hood slightly bigger than head to allow for an easier fit.
R1 - 6 sc (6)
R2 - inc x6 (12)
R3 - (sc inc) x6 (18)
R4 - (2 sc inc) x6 (24)
R5 - (3 sc inc) x6 (30)
R6 - (4 sc inc) x6 (36)
R7 - (5 sc inc) x6 (42)
R8 - (6 sc inc) x6 (48)
R9 - (7 sc inc) x6 (54)
R10 - (8 sc inc) x6 (60)
R11 - sc around (60)
R12 - sc around (60)
R13 - sc around (60)
R14 - sc around (60)
R15 - sc around (60)
R16 - sc around (60)
R17 - sc around (60)
R18 - sc around (60)
R19 - sc around (60)
R20 - sc around (60)
R21 - (8 sc dec) x6 (54)
R22 - sc around (54)
R23 - (7 sc dec) x6 (48)
R24 - (6 sc dec) x6 (42)
R25 - ss loosely around (42)
Finish off and cut yarn leaving a long tail for joining. Position on head as shown in photos above. After attaching head to body, I like to wrap the tail from the hood around the neck to cover joining stitches.

Ears (x2)

I followed a free pattern found here for the ears.

Check out photos of Blue Bunny in this post before joining ears, head and arms. I like to pin the pieces in place and pick the most pleasing look before attaching.


Be the first to comment - click on No comments: below


Thursday, 26 February 2015

TBT Birthday Wishes

Since it's Thursday and it's our daughter's Quarter Century Birthday, I thought it would be fun to share some Throw Back Thursday (TBT) photos from her first birthday to wish her a Happy Birthday. I selected her first birthday because her daughter turned one just last week. It melts my heart and brings back so many memories to see my daughter with her little girl. I love that she is truly happy as a Mom with two little children.

Happy Birthday to you - our amazing and delightful daughter. As a parent I'm sure you understand what I mean when I say your arrival totally changed our focus and our lives even more than we could have imagined. We love you lots, always and forever. 

The night you were born was extremely cold. I remember our car would not start so we called a cab but neglected to mention I was in active labour for fear the driver would refuse the fare. Your Grandma won the loonie taped in your baby book betting against your Grandpa. She bet I was having a girl. For once I was thrilled she was right. Although as I've learned over the years, Moms are usually right.

Your first year flew by and we celebrated your birthday in Toronto on a Tuesday after work sharing a homemade cake with our neighbours Steve and Mary.
You weren't quite sure what to do with cake but after one taste you figured it out. You thoroughly enjoyed your first birthday cake.
 
 
We celebrated again with a family party in Lucan the weekend after your birthday. The wagon was a gift from your grandparents. I am so happy it survived the years and is now enjoyed by your children. Quality lasts.
You and your cousin loved to hang out together at family gatherings. Of course you wanted to sit in the wagon together. I felt so lucky to be holding two little sweeties. You were both such adorable babies.
You loved looking at your birthday cards and tearing open your gifts. 
Your second first birthday cake came with a little bear cake just for you. You loved it and so did your cousin. Your Great Grandma was happy to see you enjoying it as her friend Mrs. Swan baked all our family birthday cakes. Her cakes were a much loved family tradition for many years.
Your Dad had cake on his face as you were sharing with him. You were sharing cake with everybody. You were such a generous child.  
The pony was a gift from your Auntie and Uncle. You were so happy with that pony. Just look at your smile. It lit up the room.
It still amazes me how quickly 25 years have passed. I hope you like these TBT Birthday Wishes. I can hardly wait to celebrate properly with cake when your Grandma and I fly in for our Second Annual Boulder Visit.

Happy Birthday to you, our daughter. You may be all grown up but you'll always be our Baby Girl.


Be the first to comment - click on No comments: below
Sunday, 22 February 2015

Bobo Bunny Pattern

As promised in my last post, I have finished Bobo Bunny and taken photos from every angle to share with you. I think Bobo enjoyed posing. What do you think? Isn't he a sweet little Bobo Bunny?


I have written the pattern using my rough notes as reference and am providing it for free in case you want to make one too.

BOBO BUNNY PATTERN

PDF Version

Materials used:

2 balls of Vanna's Choice 100% acrylic worsted weight yarn in silver heather
1 ball of Patons Baby Sport 100% acrylic light (#3) weight yarn in white
Polyester Fiberfill for stuffing
Small amount of black embroidery thread (to attach button eyes)
Small amount of pink fine yarn (for mouth)
2 small black buttons for eyes (optional) 
Note: It is safer to embroider eyes using black yarn if the toy is for a young baby.

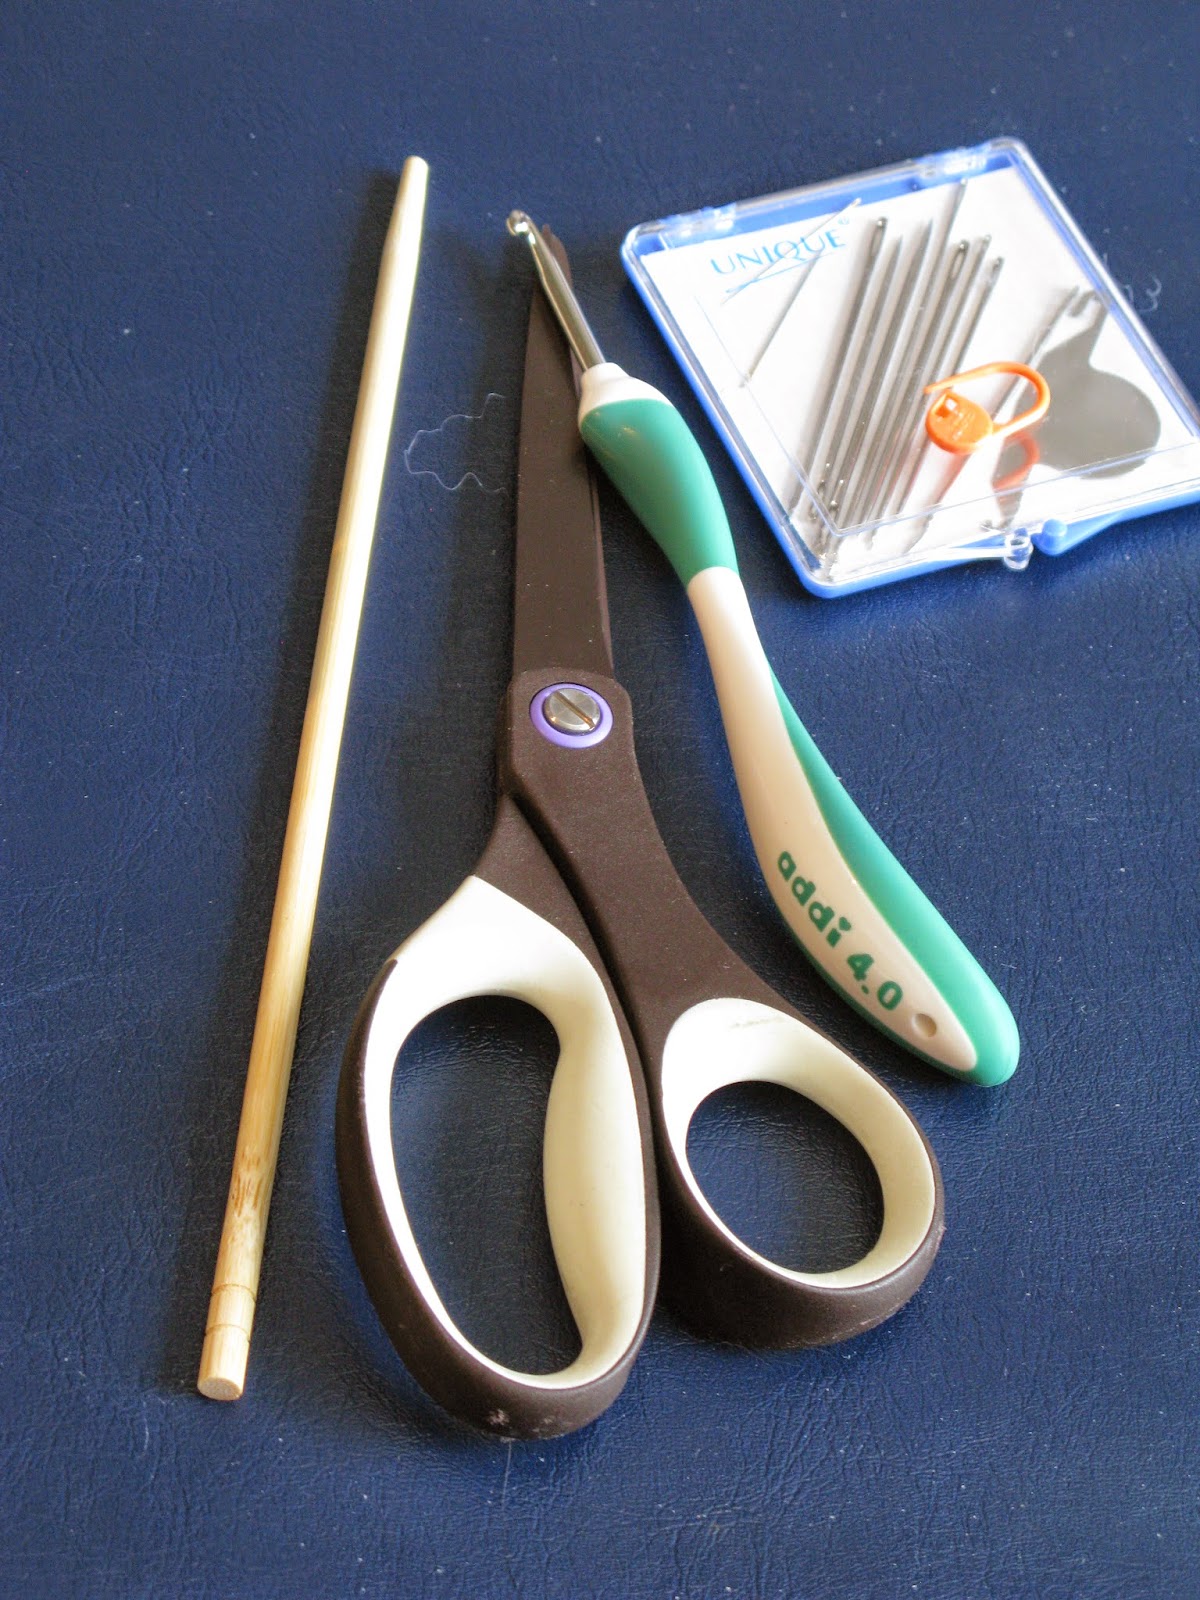
You can see I still have quite a bit of yarn left over for future projects and here are my tools of the trade: stuffing stick, scissors, 4.0 mm crochet hook, stitch marker, yarn needles and yarn threader.

Stitches used:

sc - single crochet
ch - chain stitch
inc - single crochet increase
sc2tog - single crochet 2 together aka dec - sc decrease
BLO - back look only
Magic Circle - see how here (start each piece with magic circle)

Finished size - 12 inches tall


Legs (x2)

Use grey yarn. Working from the bottom up, starting with a magic circle, use stitch marker to mark end of rows (work in continuous rounds with no joining)

R1 - 6 sc (6)
R2 - inc x6 (12)
R3 - (sc inc) x6 (18)
R4 - (2 sc inc) x6 (24)
R5-R6 - sc around (24)
R7 - sc2tog x4 + 16 sc (20)
R8 - sc2tog x4 + 12 sc (16)
R9-R16 - sc around (16)
R17 - (3 sc inc) x4 (20)
R18-R20 - sc around (20)
Finish off.

Body

Stuff and join legs on middle 2 stiches as shown in this tutorial. The instructions are in German but the video alone is enough to understand the technique. Once the legs are joined continue crocheting around both legs to form the body.

R21-R22 - sc around (36)
R23 - (5 sc inc) x 6 (42)
R24 - sc around (42)
R25 - 12 sc inc, 12 sc inc, 12 sc inc, 3 sc (45)
R26-R30 - sc around (45)
R31 - (7 sc dec) x5 (40)
R32-R34 - sc around (40)
R35 - (6 sc dec) x5 (35)
R36-R38 - sc around (35)
R39 - (5 sc dec) x5 (30)
R40-R46 - sc around (30)
R47 - (4 sc dec) x5 (25)
R48-R50 - sc around (25)
R51 - (3 sc dec) x5 (20)
R52- sc around (20)
R53 - (2 sc dec) x5 (15)
R54 - sc around (15)
Finish off and cut yarn leaving a long tail to attach the head. Stuff body firmly.

Arms (x2)

Start with white yarn
R1 - 6 sc (6)
R2 - inc x6 (12)
R3 - (sc inc) x6 (18)
R4 - sc around (18)
R5 - (4 sc dec) x3 (15)
R6 - sc around (15)
R7 - (3 sc dec) x 3 (12)
Change to grey yarn at end of R7
R8 - sc around (12)
R9 - (4 sc dec) x 2 (10)
R10-R30 - sc around (10)
Finish off and cut yarn leaving a long tail for joining. Stuff only hands and part way up arm.

Head

Use white yarn.
R1 - 6 sc (6)
R2 - inc x6 (12)
R3 - (sc inc) x6 (18)
R4 - (2 sc inc) x6 (24)
R5 - (3 sc inc) x6 (30)
R6 - (4 sc inc) x6 (36)
R7 - (5 sc inc) x6 (42)
R8 - (6 sc inc) x6 (48)
R9 - (7 sc inc) x6 (54)
R10 - (8 sc inc) x6 (60)
R11-R20 - sc around (60)
R21 - (8 sc dec) x6 (54)
R22 - sc around (54)
R23 - (7 sc dec) x6 (48)
R24 - (6 sc dec) x6 (42)
R25 - (5 sc dec) x6 (36)
R26 - (4 sc dec) x6 (30)
R27 - (3 sc dec) x6 (24)
R28 - (2 sc dec) x6 (18)
R29 - (2 sc dec) x3 + 2 sc (15)
R30-R31 - sc around (15)
Finish off and cut yarn leaving a long tail for joining. Stuff head and neck firmly to hold shape.

Hood

Use grey yarn.
R1 - 6 sc (6)
R2 - inc x6 (12)
R3 - (sc inc) x6 (18)
R4 - (2 sc inc) x6 (24)
R5 - (3 sc inc) x6 (30)
R6 - (4 sc inc) x6 (36)
R7 - (5 sc inc) x6 (42)
R8 - (6 sc inc) x6 (48)
R9 - (7 sc inc) x6 (54)
R10-R14 - sc around (54)
R15 - (7 sc dec) x6 (48)
R16 - sc around (48)
Stop crocheting in the round.
R17 - 40 sc, turn
R18 - ch 1, 40 sc, turn
R19 - ch 1, 40 sc (BLO) 
Finish off and cut yarn leaving a long tail for joining. Position on head as shown in photos above.

Ears (x2)

I followed a free pattern found here for the ears but stopped at the end of R30 as that looked big enough for my Bobo Bunny.


Be the first to comment - click on No comments: below