


I have written the pattern using my rough notes as reference and am providing it for free in case you want to make one too.
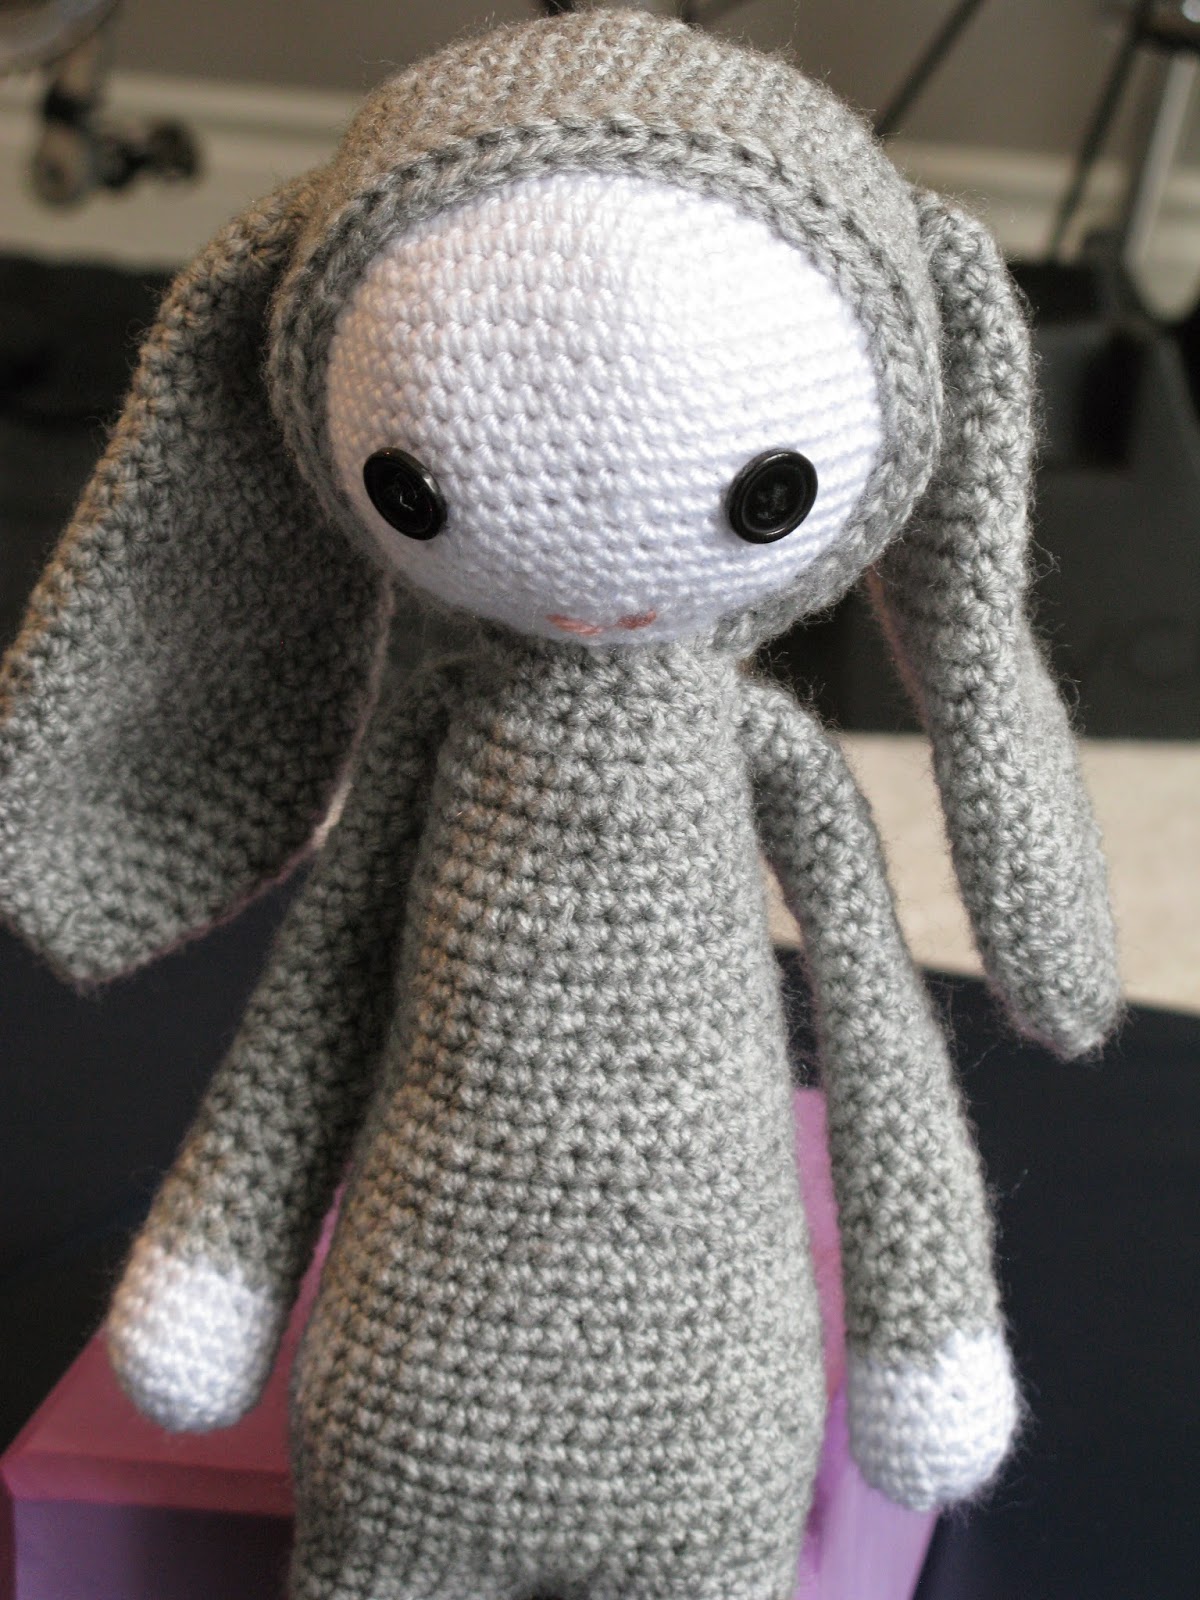
BOBO BUNNY PATTERN
PDF Version
Materials used:
2 balls of Vanna's Choice 100% acrylic worsted weight yarn in silver heather
1 ball of Patons Baby Sport 100% acrylic light (#3) weight yarn in white
Polyester Fiberfill for stuffing
Polyester Fiberfill for stuffing
Small amount of black embroidery thread (to attach button eyes)
Small amount of pink fine yarn (for mouth)
2 small black buttons for eyes (optional)
Note: It is safer to embroider eyes using black yarn if the toy is for a young baby.
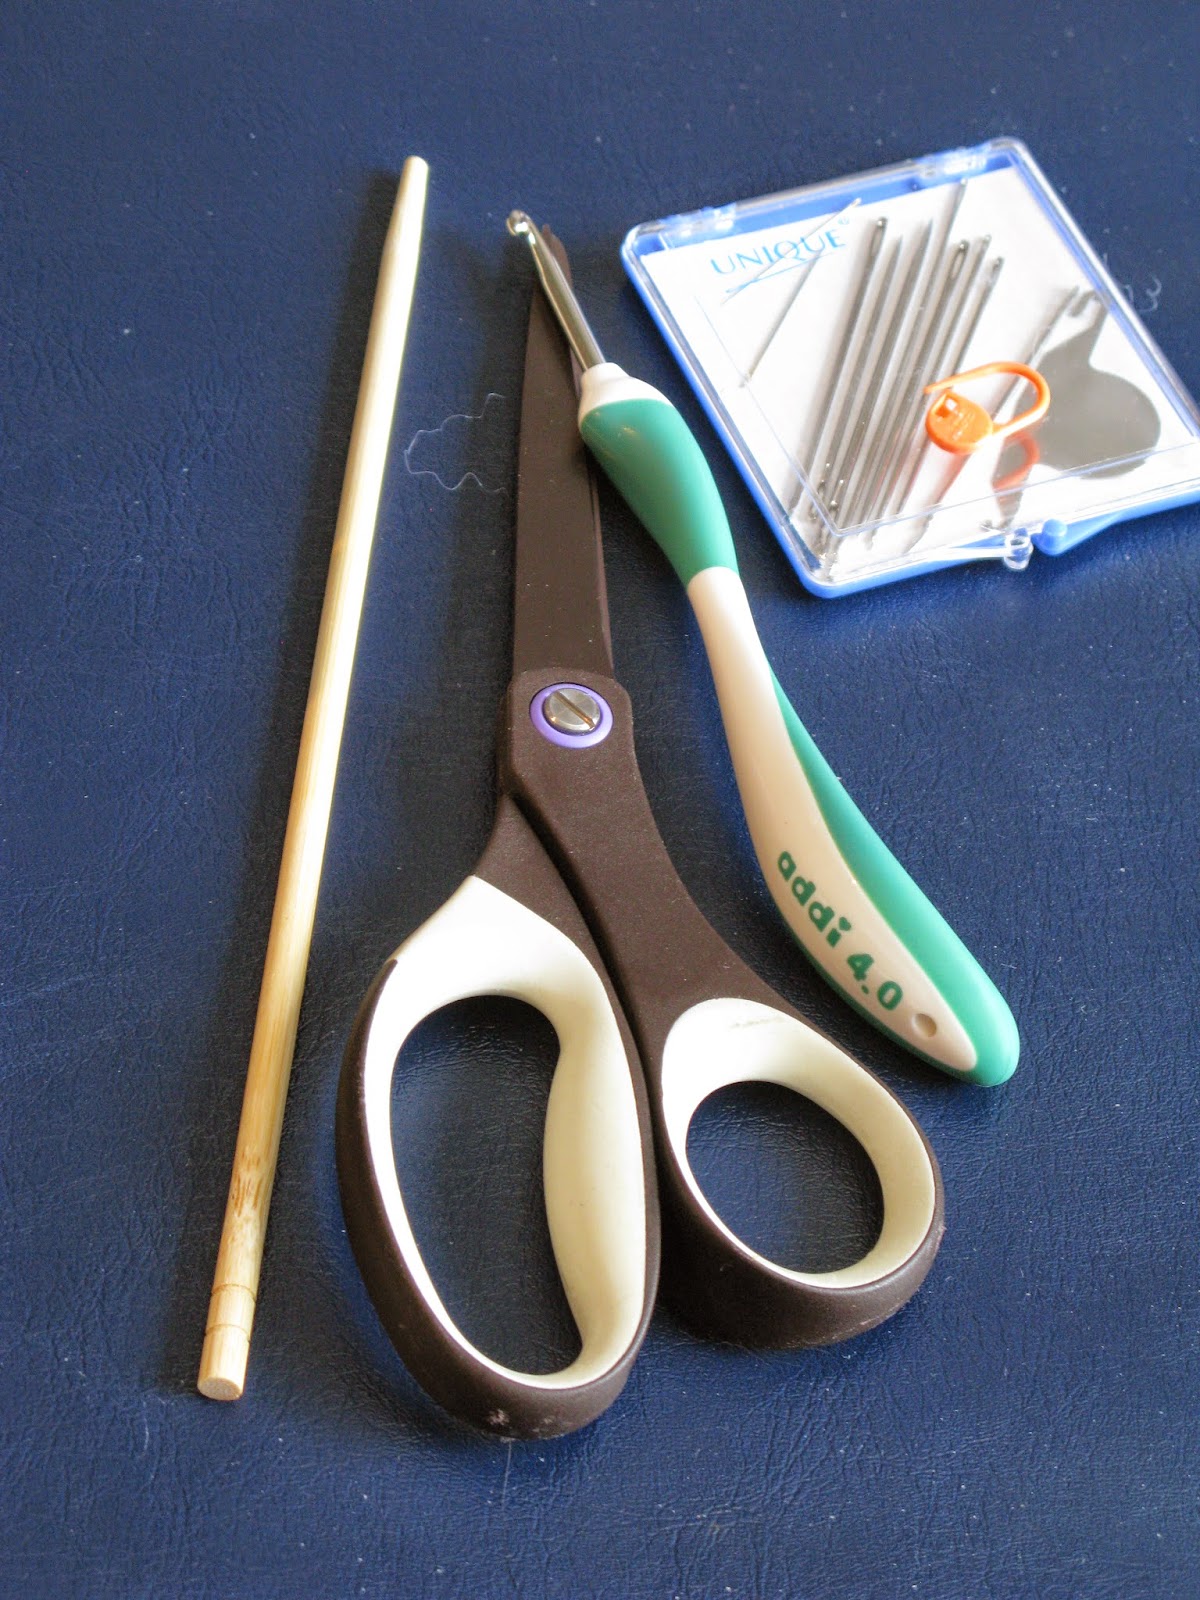
You can see I still have quite a bit of yarn left over for future projects and here are my tools of the trade: stuffing stick, scissors, 4.0 mm crochet hook, stitch marker, yarn needles and yarn threader.

Stitches used:
sc - single crochet
ch - chain stitch
inc - single crochet increase
sc2tog - single crochet 2 together aka dec - sc decrease
inc - single crochet increase
sc2tog - single crochet 2 together aka dec - sc decrease
BLO - back look only
Legs (x2)
Use grey yarn. Working from the bottom up, starting with a magic circle, use stitch marker to mark end of rows (work in continuous rounds with no joining)
R1 - 6 sc (6)
R2 - inc x6 (12)
R3 - (sc inc) x6 (18)
R4 - (2 sc inc) x6 (24)
R5-R6 - sc around (24)
R7 - sc2tog x4 + 16 sc (20)
R8 - sc2tog x4 + 12 sc (16)
R9-R16 - sc around (16)
R17 - (3 sc inc) x4 (20)
R18-R20 - sc around (20)
Finish off.
Finish off.
Body
Stuff and join legs on middle 2 stiches as shown in this tutorial. The instructions are in German but the video alone is enough to understand the technique. Once the legs are joined continue crocheting around both legs to form the body.
R21-R22 - sc around (36)
R23 - (5 sc inc) x 6 (42)
R24 - sc around (42)
R25 - 12 sc inc, 12 sc inc, 12 sc inc, 3 sc (45)
R26-R30 - sc around (45)
R31 - (7 sc dec) x5 (40)
R32-R34 - sc around (40)
R35 - (6 sc dec) x5 (35)
R36-R38 - sc around (35)
R39 - (5 sc dec) x5 (30)
R40-R46 - sc around (30)
R47 - (4 sc dec) x5 (25)
R48-R50 - sc around (25)
R51 - (3 sc dec) x5 (20)
R52- sc around (20)
R53 - (2 sc dec) x5 (15)
R54 - sc around (15)
Finish off and cut yarn leaving a long tail to attach the head. Stuff body firmly.
Arms (x2)
Start with white yarn
R1 - 6 sc (6)
R2 - inc x6 (12)
R3 - (sc inc) x6 (18)
R4 - sc around (18)
R5 - (4 sc dec) x3 (15)
R6 - sc around (15)
R7 - (3 sc dec) x 3 (12)
Change to grey yarn at end of R7
R8 - sc around (12)
R9 - (4 sc dec) x 2 (10)
R10-R30 - sc around (10)
Finish off and cut yarn leaving a long tail for joining. Stuff only hands and part way up arm.
Head
Use white yarn.
R1 - 6 sc (6)
R2 - inc x6 (12)
R3 - (sc inc) x6 (18)
R4 - (2 sc inc) x6 (24)
R5 - (3 sc inc) x6 (30)
R6 - (4 sc inc) x6 (36)
R7 - (5 sc inc) x6 (42)
R8 - (6 sc inc) x6 (48)
R9 - (7 sc inc) x6 (54)
R10 - (8 sc inc) x6 (60)
R11-R20 - sc around (60)
R21 - (8 sc dec) x6 (54)
R22 - sc around (54)
R23 - (7 sc dec) x6 (48)
R24 - (6 sc dec) x6 (42)
R25 - (5 sc dec) x6 (36)
R26 - (4 sc dec) x6 (30)
R27 - (3 sc dec) x6 (24)
R28 - (2 sc dec) x6 (18)
R29 - (2 sc dec) x3 + 2 sc (15)
R30-R31 - sc around (15)
Finish off and cut yarn leaving a long tail for joining. Stuff head and neck firmly to hold shape.
Hood
Use grey yarn.
R1 - 6 sc (6)
R2 - inc x6 (12)
R3 - (sc inc) x6 (18)
R4 - (2 sc inc) x6 (24)
R5 - (3 sc inc) x6 (30)
R6 - (4 sc inc) x6 (36)
R7 - (5 sc inc) x6 (42)
R8 - (6 sc inc) x6 (48)
R9 - (7 sc inc) x6 (54)
R10-R14 - sc around (54)
R15 - (7 sc dec) x6 (48)
R16 - sc around (48)
Stop crocheting in the round.
R17 - 40 sc, turn
R18 - ch 1, 40 sc, turn
R19 - ch 1, 40 sc (BLO)
Finish off and cut yarn leaving a long tail for joining. Position on head as shown in photos above.
Ears (x2)
I followed a free pattern found here for the ears but stopped at the end of R30 as that looked big enough for my Bobo Bunny.
Be the first to comment - click on No comments: below
Very cute - I'm sure he/she will be very welcome in Boulder. The instructions must have taken you ages to type out!
ReplyDeletePattern writing does take time but now I can use it to make another one which is great. I already have a request from somebody at work who would like to buy one for her nephew.
DeleteSo cute Beth I'm sure he will be well loved.
ReplyDeleteHi did you have a video joining head to the body?
ReplyDeleteNo but I pushed the neck on the head into the body cavity and used the yarn tail to 'sew' around joining the head to the body. I follow Planet Junes insturctions for joining neatly. http://www.planetjune.com/blog/joining-amigurumi/ Hope that helps.
DeleteShould round 16 of the hood be (7 sc dec) x 6? That's the only way I get 48 stitches. :-/
ReplyDeleteI mean round 15
DeleteYes, it should be 7. Thanks for letting me know. I will correct it.
DeleteYou should really be crediting Lalylala.com if you're going to use their pattern.
ReplyDeleteI think I've given Lalylala more than enough credit on my blog. Check out my Copycats post for example.
DeleteAmazing, I can't wait to try it out. I think my kid is going to love it. I plan on making various hoods for him.
ReplyDeleteThere is no instruction on how the hood is sewn on...the picture is no help, since it only shows the hood already attached. There is an 8 stitch gap, how and where does that sit because no amount of trying to sit it around the neck works. Photos on where it sits and attached or some sort of instruction would be good.
ReplyDeleteHello - Thanks for your question. I put the hood on the head. The neck on the head inserts into the neck on the body until the hood touches the body. Everything is attached in place from there. In later versions, I wrapped yarn around the neck to cover any gaps or uneven stitches. Hope that helps.
DeleteI can't find the pattern for the ears, when using the link. Can you help me out plz?
ReplyDelete